We all have it. That bright orange (or yellow) box of baking soda, pushed to the back of the fridge, dutifully “absorbing odors” for the last… six months? A year?
We buy it, we park it, and we forget about it.
But that humble box of sodium bicarbonate is, without question, the single most versatile, affordable, and effective cleaning product in your entire home. The problem is, most of us are using it wrong.
The “magic” of baking soda for everyday cleaning isn’t magic at all. It’s just simple science. It works in three distinct ways:
As a Mild Alkali (when dissolved): In water, it forms a basic solution that is fantastic at dissolving and cutting through grease and grime.
As a Mild Abrasive (when a paste): Its fine, crystalline structure is just hard enough to scrub away gunk (like soap scum) without scratching most surfaces.
As a Deodorizer (when dry): It’s a neutralizer. It doesn’t just mask odors; it reacts with both acidic and basic odor molecules, rendering them neutral.
The entire “hack” is knowing which of these three jobs you need it to do. Get this right, and you can replace half the specialty cleaners under your sink.

Okay, But Stop Mixing It with Vinegar
Before we get to the good stuff, let’s get one thing straight.
Stop mixing baking soda and vinegar in a bottle and expecting a miracle cleaner. It’s the first “green cleaning” hack everyone learns, and it’s… a myth.
I get the appeal. It fizzes, it bubbles! It looks like something powerful is happening. But it’s a chemistry-class-level letdown. Baking soda is a base (alkaline), and vinegar is an acid. When you mix them, they violently neutralize each other, creating a spectacular fizz of carbon dioxide gas and a bottle of… mostly useless, slightly salty water.
You’ve just canceled out the cleaning power of both ingredients.
The real expert method is to use them sequentially. You use the acid (vinegar) to dissolve mineral-based stains first, and then you use the base (baking soda) to scrub and degrease. We’ll get to that.
Now, let’s put that box to work.
1. The Fume-Free “Overnight” Oven Deep Clean
That self-clean button? It’s a terrifying, smoke-filled nightmare that smells like a house fire and can fry your oven’s electronics. There is a better, gentler way.
This is the ultimate “set it and forget it” clean. Imagine the scene: post-holiday-cooking. The oven looks like a charcoal pit.
Actionable Steps:
Make sure the oven is cold. Remove the racks (we’ll do those separately).
In a bowl, mix about 1/2 cup of baking soda with a few tablespoons of water. You want a thick, spreadable paste, “roughly the consistency of pancake batter”.
Wearing gloves (it’s non-toxic, but this is grimy), smear this paste all over the interior of your oven. Focus on the bottom and sides.
Crucial step: Avoid the metal heating elements.
Now, close the door. Walk away. Go to bed.
The next morning (or at least 12 hours later), the paste will be dry and brown. Take a plastic spatula to scrape off the big chunks, and then use a damp, non-abrasive sponge to wipe it all out. The baked-on grease will have softened and will lift right off with the paste.
The Common Mistake: Getting impatient. People try this, let it sit for 20 minutes, start scrubbing, and declare it a failure. The baking soda’s alkali needs time—many hours—to break down those polymerized fats.
2. The Oven Rack “Bathtub Soak”
While the oven paste is working overnight, let’s tackle those awful racks.
Actionable Steps:
Lay an old towel or two in the bottom of your bathtub to prevent scratches.
Place the oven racks on the towel.
Fill the tub with the hottest water you can get.
Here’s the trick: Add 1/2 cup of baking soda… and a 1/2 cup of powdered or liquid dishwasher detergent.
Let them soak overnight.
In the morning, the caked-on gunk will be so soft you can wipe most of it off with a cloth. The enzymes in the dishwasher soap do the heavy lifting, while the baking soda helps soften the water and lift the grease.
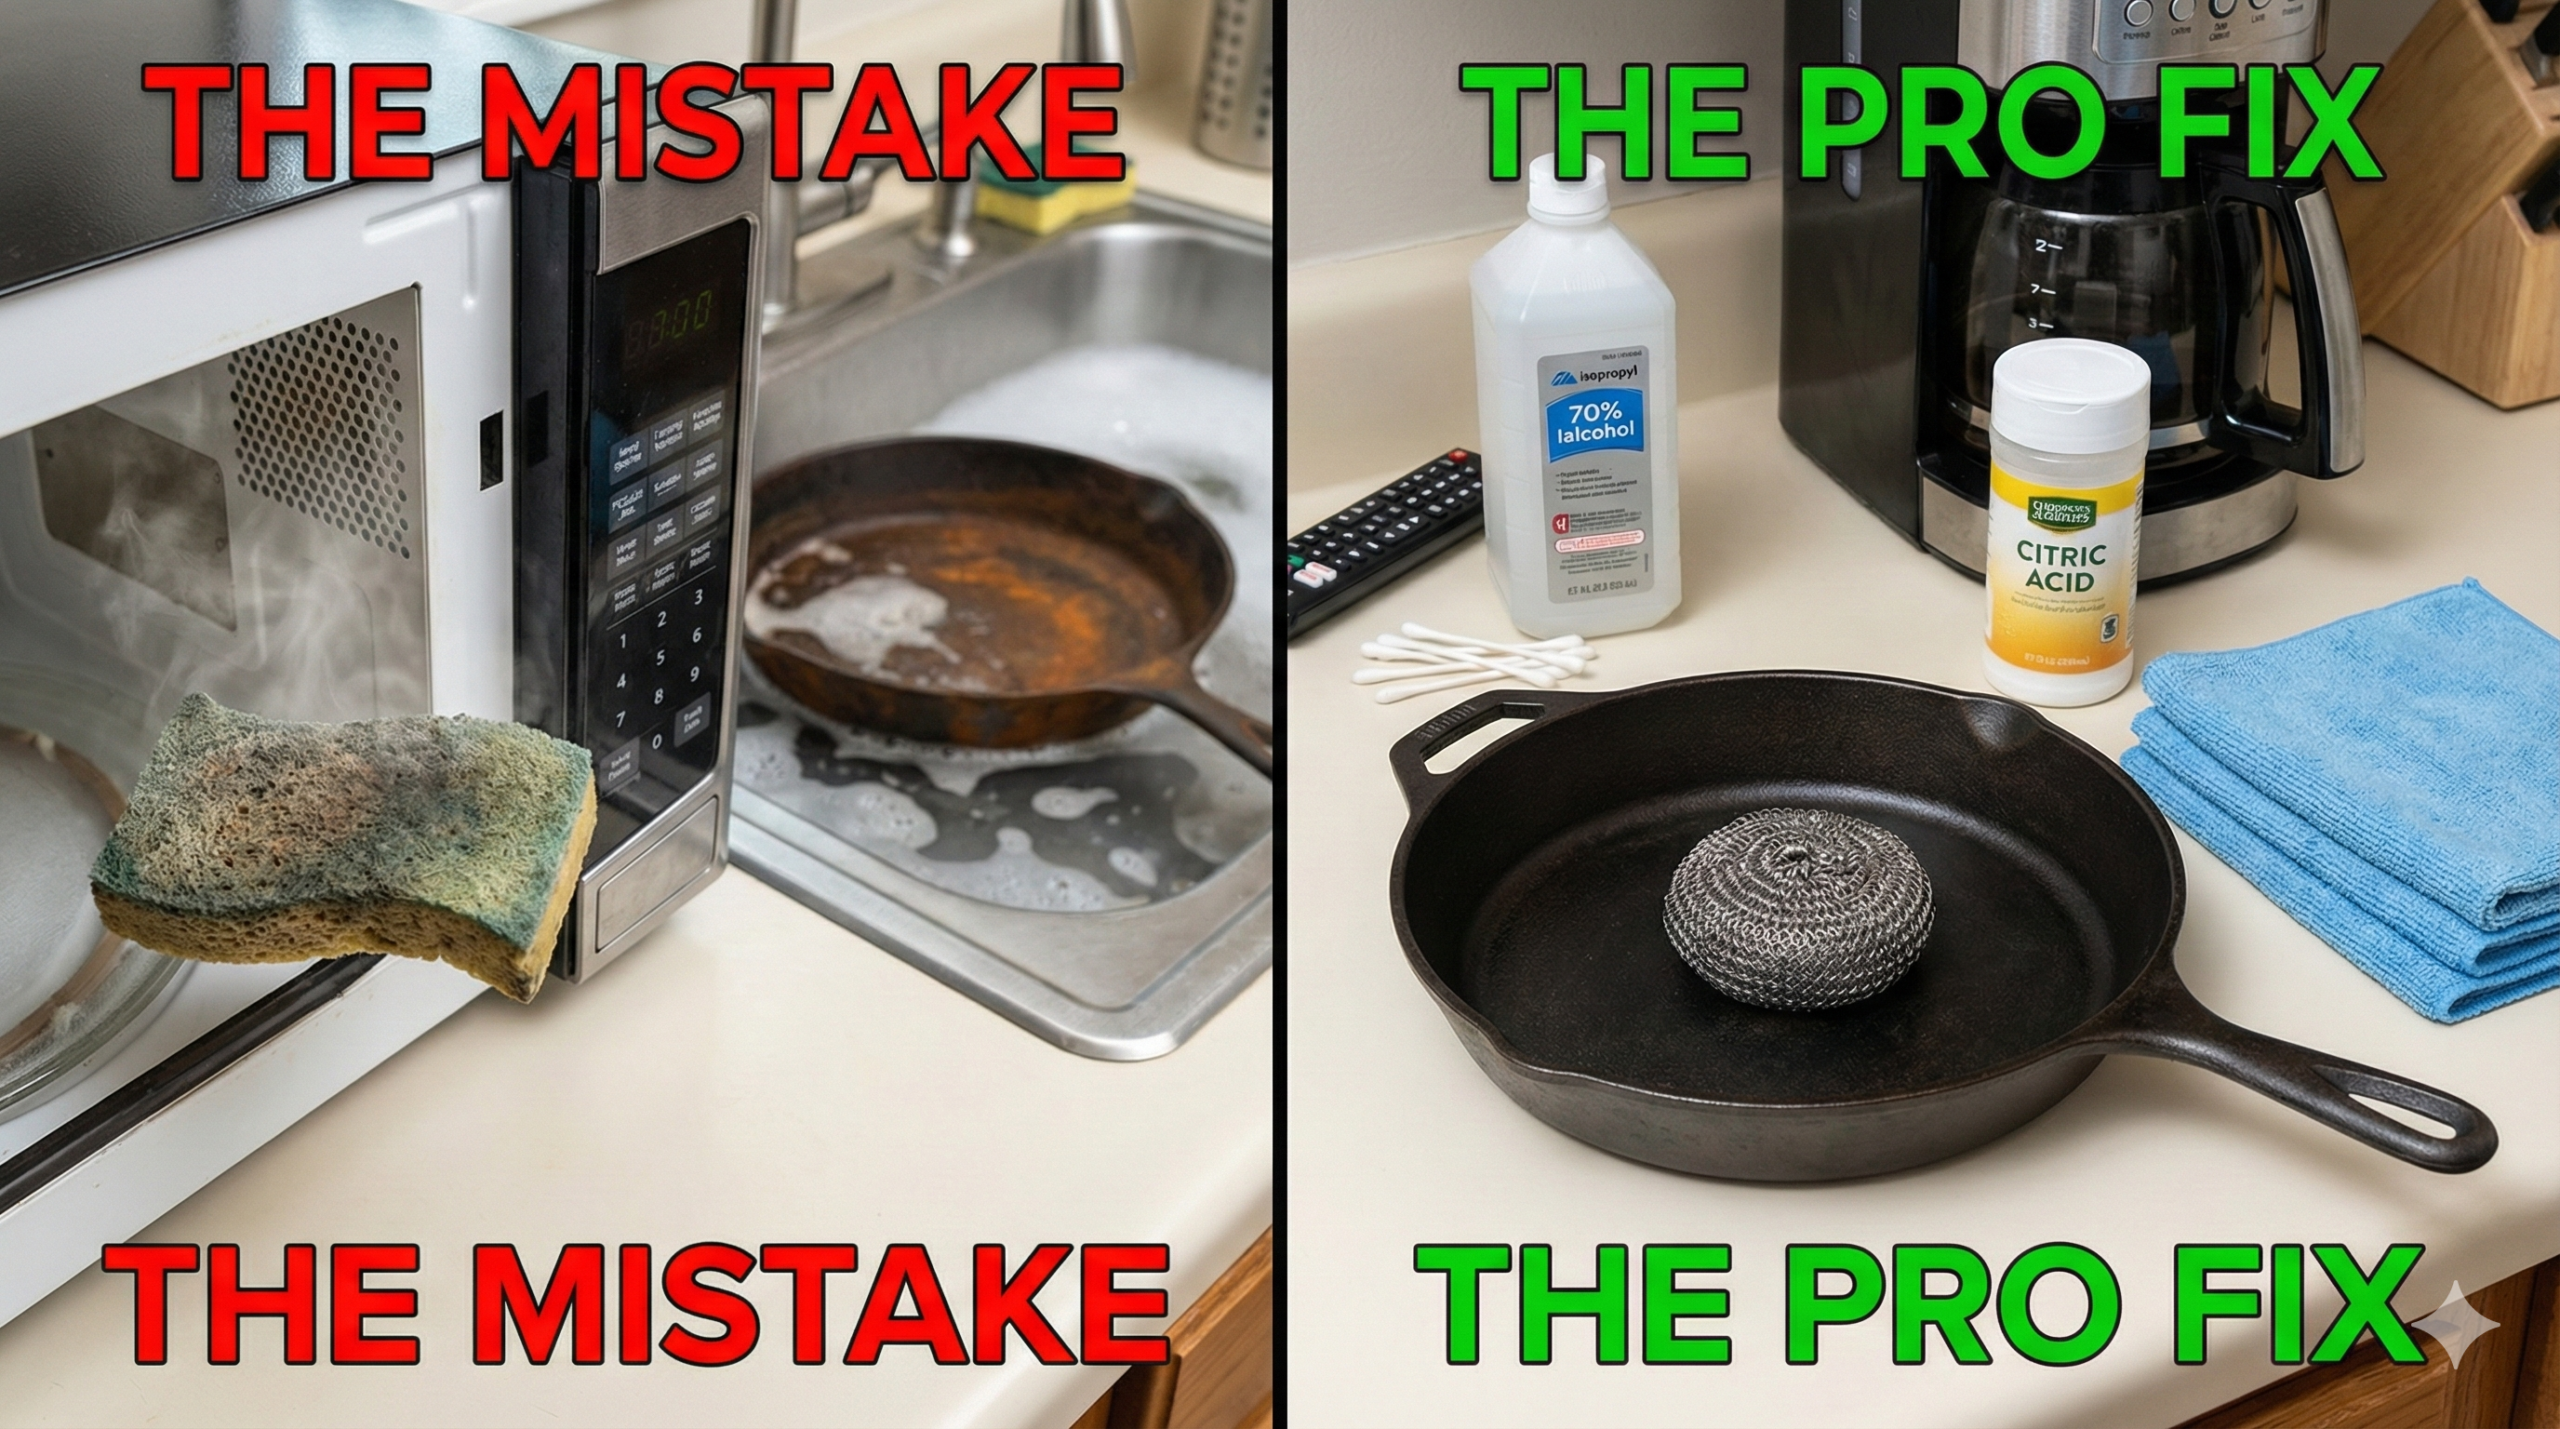
3. Rescuing Scorched Pans (The Right Way)
Baking soda can save your favorite pan, but the method is completely different depending on the pan’s material.
Scenario 1: Stainless Steel or Copper You looked away for one second, and now there’s a black, burnt-on crust.
The Method (Abrasive + Acid): Sprinkle the pan liberally with baking soda. Cut a lemon in half and use the cut side as your “scrubber”. The combination of the soda’s grit and the lemon’s acid will scour off the burn without damaging the tough metal.
Scenario 2: Non-Stick or Ceramic You burnt something on your non-stick pan. Whatever you do, do not use the method above.
The Common Mistake: Using baking soda as an abrasive on a non-stick coating. I once scrubbed a non-stick pan with a baking soda paste and completely ruined the coating. A moment of silence for that pan, please.
The Method (Alkaline Soak): You must only use baking soda’s dissolved power here. Add 4 tablespoons of baking soda and a half-cup of water to the pan. Bring it to a boil, then reduce the heat and let it simmer for 5-10 minutes. The burnt-on food will loosen and float right off. No scrubbing required.
4. The Right Way to Deodorize a Fridge
That open box in the corner? It’s barely working. The problem is surface area. Baking soda absorbs odors by neutralizing the particles in the air, but it can only absorb what it can touch.
The Common Mistake: Using the small, perforated box opening. Air circulation in a packed fridge is terrible.
The “Pro” Method: Pour at least one cup of baking soda onto a shallow plate or a small baking sheet and place it on a central shelf. By increasing the surface area, you’ve just supercharged its deodorizing power. Replace it every 30-60 days (and use the old batch for cleaning!).
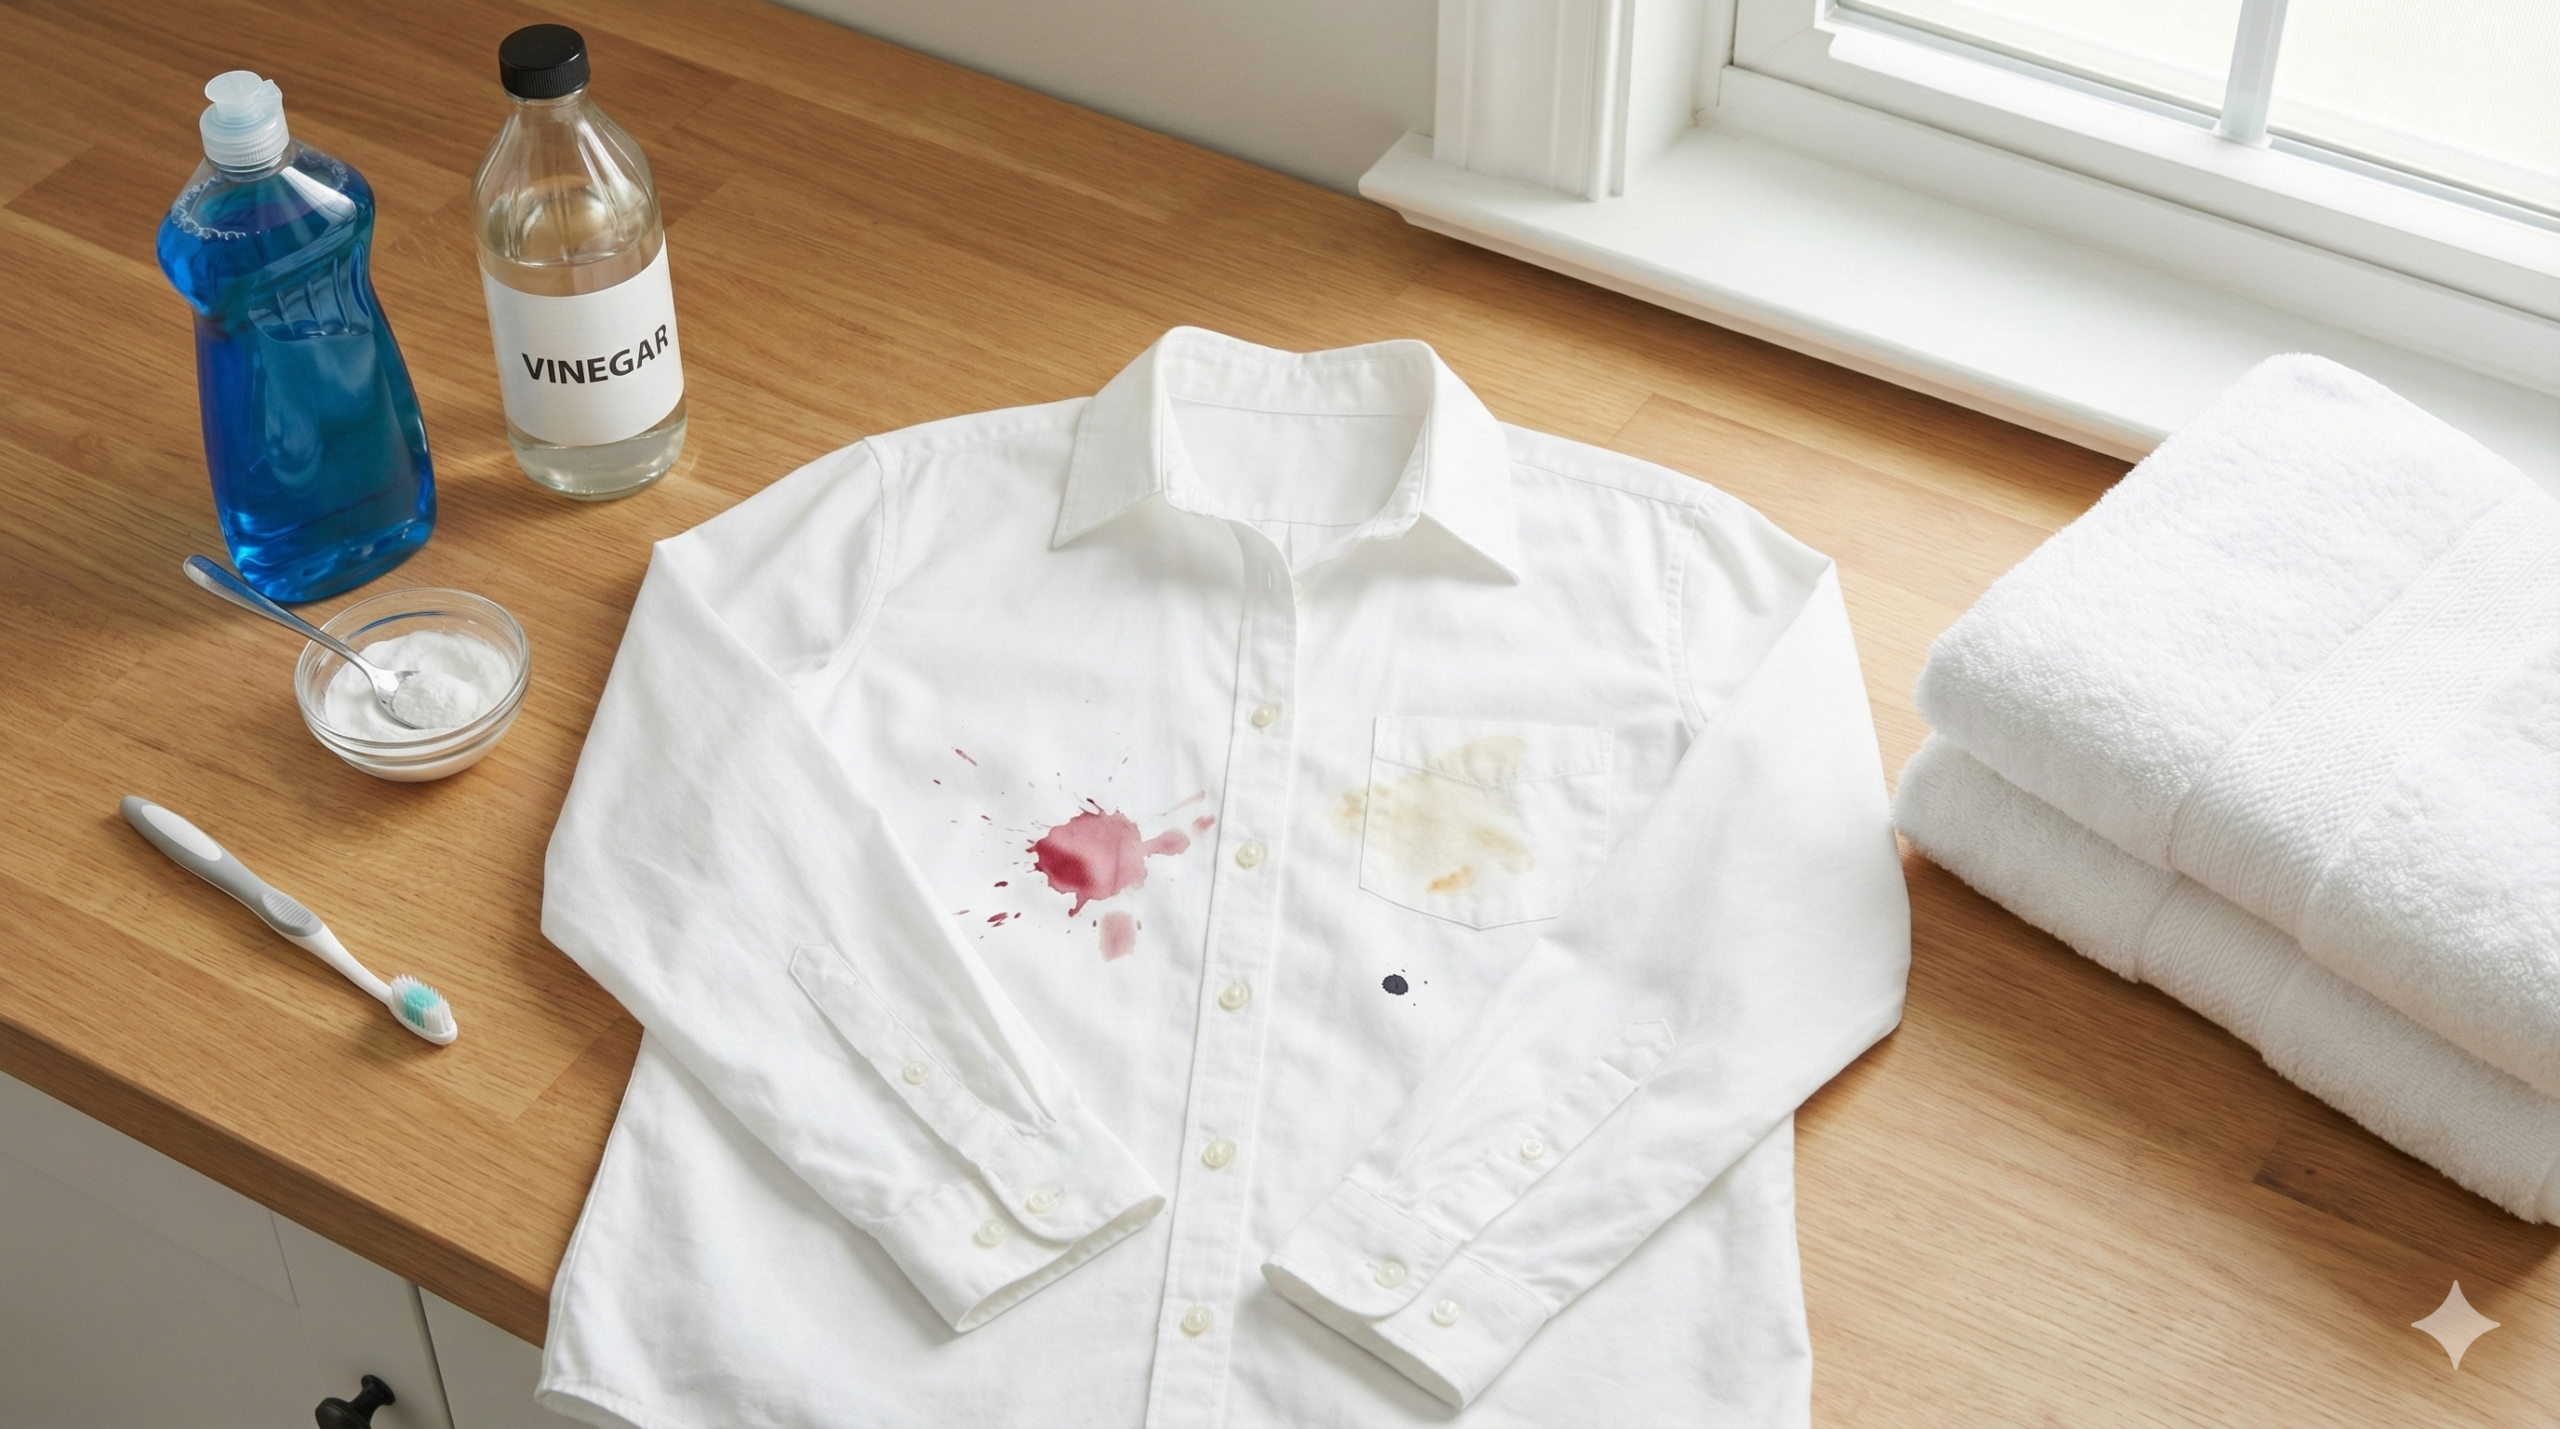
5. Demolishing Soap Scum (The Sequential Trick)
This is it. This is where we put the “vinegar first” rule into practice. Soap scum is a tough, two-part problem: it’s part mineral (from hard water) and part soap/fat.
The Common Mistake: Mixing soda and vinegar into a fizzy sludge, spraying it, and watching it do nothing as it drips down the glass.
Actionable Steps (The Sequential Method):
Step 1 (The Acid): Gently warm 1 cup of white vinegar (15-20 seconds in the microwave is fine) and pour it into a spray bottle. Spray the shower doors and tile generously. Let it sit for 15 minutes. The acetic acid will dissolve the mineral deposits.
Step 2 (The Base): Make a thick paste of baking soda and water. Dip a non-abrasive sponge into the paste and start scrubbing the areas you just sprayed. The vinegar has done its job; now, the baking soda’s mild abrasion and alkalinity will lift the soapy/greasy part.
Rinse thoroughly.
What Nobody Tells You (The Glass vs. Mirror Rule): Here’s the tip most articles miss. Baking soda is not safe for all glass. It’s an abrasive, and on a mirror or a window, it will leave a “cloudy” look from thousands of micro-scratches. Why is it okay for a shower door? Because the door is already covered in a tough, abrasive layer of mineral-laced scum, and you’re using a soft sponge. The soda is scrubbing the scum, not the glass. Never, ever use this paste on your bathroom mirror.
6. Brightening Dingy Grout (The Abrasive Vehicle)
Your grout is dark and gross. Baking soda alone won’t fix it. But baking soda’s real power with grout is its ability to become a thick, “clinging” paste. It’s the vehicle that holds the actual cleaning agent in place, especially on vertical shower walls.
The Method (Pick Your Power):
For Stains: Make a paste of 2 parts baking soda and 1 part 3% hydrogen peroxide.
For Mildew: Make a thick paste of 3/4 cup baking soda and 1/4 cup bleach. (Ventilate the room well!)
Actionable Steps:
Apply your chosen paste to the grout lines with an old toothbrush.
Let it sit for 15 minutes.
Scrub with the brush, then rinse clean.
The Critical Mistake: Using any acid (like vinegar or lemon juice) on your grout if you’re not 100% sure it’s perfectly sealed. Acid can etch and dissolve unsealed grout or natural stone like marble.
7. The One Time You Should Cause a Volcano
There is one time that fizzy vinegar-soda reaction is useful: clearing a smelly, slow-moving drain. Here, you’re not using the chemicals; you’re using the mechanical action of the fizz to dislodge gunk.
Actionable Steps:
Pour a full pot of boiling water down the drain to heat things up.
Dump 1/2 cup of dry baking soda directly into the drain.
Follow it with 1 cup of white vinegar and immediately put the plug in to cap the “volcano”.
Let it fizz and work in the pipes for 10-15 minutes.
Flush with another full pot of boiling water.
The Common Mistake: Thinking this will clear a real, physical clog (like a massive hairball). It won’t. This is a deodorizing and gunk-loosening treatment for sinks full of soap scum and grime, not a replacement for a drain snake.
8. The Better-Than-Fabric-Softener Laundry Boost
Baking soda is a remarkable laundry booster, but where you put it matters.
The Method: Add 1/2 cup of baking soda directly into the washer drum with your clothes before you start the load.
The “Why”: It acts as a water softener. Hard water contains minerals that make your detergent less effective. Baking soda binds with those minerals, allowing your detergent to work better. It also acts as a deodorizer, which is perfect for gym clothes or musty towels.
The Critical Mistake: Putting baking soda in your machine’s built-in detergent or fabric softener dispenser. It can clump, clog the mechanisms, and leave a chalky residue.
A Quick Warning: Test it on a small spot first if you’re using it on delicate fabrics. It’s generally safe, but you should avoid it on silk or wool.
9. Carpet Deodorizing & The Pet Stain Panic
A friend called me in a panic a few months ago. New puppy, beige carpet. You can guess the rest. My first words were: “Step away from the steam cleaner.”
For General Deodorizing: Sprinkle baking soda liberally over the entire dry carpet. Use a soft brush to gently work it down into the fibers. Let it sit for at least 15 minutes, but honestly, overnight is best. The longer it sits, the more odor it absorbs. Vacuum it up thoroughly.
For Pet Stains (A Mini Case-Study):
The Common Mistake #1: Using a steam cleaner. The heat will permanently set a urine stain by bonding the proteins to the carpet fibers. You will never get that smell out.
The Common Mistake #2: Using baking soda to “clean” the wet spot. Baking soda deodorizes, but it does not clean the source of the problem (the uric acid).
The “Pro” Method:
Blot, Don’T Rub. Soak up as much of the fresh stain as possible with paper towels, standing on them to add pressure.
Rinse. Gently rinse the spot with a little cool water and blot again until nearly dry.
Enzymes First. You must use an enzymatic pet cleaner. This is non-negotiable. These cleaners release bacteria that “eat” the uric acid crystals.
Soda Last. After the spot is completely dry (which may take a day), sprinkle baking soda on top, let it sit overnight, and vacuum. This neutralizes any lingering surface odor.
10. The “Science Experiment” Silver Polish
This is my favorite party trick. It uses chemistry to clean your tarnished silverware for you. The tarnish (silver sulfide) is chemically transferred from the silver to a piece of aluminum foil.
Actionable Steps:
Line a bowl or sink with a sheet of aluminum foil, shiny side up.
Place your tarnished silverware directly on the foil. Every piece must be touching the foil.
Sprinkle a few tablespoons of baking soda and a bit of salt over the silver.
Carefully pour in boiling water (it must be boiling, not just hot).
Stand back and watch. The tarnish will vanish in minutes. You may smell a faint “rotten egg” (sulfur) smell—that’s how you know it’s working.
The Critical, Expensive Mistake: Never, ever do this with valuable antique silver. This method is aggressive. On antique pieces, that tarnish is called “patina” and is part of its value. This chemical reaction will strip it, destroying the finish and its value. This hack is only for your everyday, non-antique flatware.
So go grab that box from the fridge. It’s done its time. Now it’s time to really put it to work. Just… please… stop mixing it with vinegar.
Author Box The Tipsclear Team — We are a collective of home-care experts, researchers, and writers. We rigorously test and fact-check every guide to separate home-cleaning myths from methods that truly work. This content is for educational purposes and is not personalized advice.
Author
Discover more from Tips Clear - Content For Daily Life
Subscribe to get the latest posts sent to your email.