There is a specific kind of dread that comes with owning a home or renting an apartment. It’s the sound of a toilet that won’t stop running at 2 a.m., or the wobble of a cabinet door every time you reach for a coffee mug.
For a long time, I operated under the assumption that fixing things required a belt full of heavy tools and a distinct genetic predisposition for “handiness.” I’d ignore the wobble, jiggle the toilet handle, and hope for the best.
But here is the reality: Most household annoyances don’t require a contractor. They don’t even require a toolbox. They usually just need ten minutes and a little bit of confidence.
If you are tired of looking at that one scuff mark or listening to that one squeak, let’s handle it right now. We aren’t rebuilding an engine here; we are just getting your house to stop annoying you.

The “Stripped Screw” Nightmare (And the Toothpick Trick)
We have all been there. You have a loose cabinet door or a wobbly door hinge. You grab a screwdriver, feeling capable, and give it a twist. But instead of tightening, the screw just spins endlessly in the hole. The wood is stripped.
At this point, most people panic and try to force a bigger screw in there (which usually splits the wood) or they just leave it loose forever.
The Fix: You need to fill the gap so the screw has something to bite into. And you don’t need fancy wood filler. You need the kitchen drawer.
What to do:
Remove the loose screw completely.
Take a wooden toothpick (or two) and dip the end in a tiny drop of wood glue. If you don’t have glue, the toothpick alone often works, but glue makes it permanent.
Jam the toothpick into the screw hole and snap it off so it’s flush with the surface.
Drive the original screw back in.
Why this works: The toothpick adds new wood fibers to the hole, compressing against the screw threads for a grip that is often tighter than the original installation.
Quick Aside: I once used a golf tee for a heavy solid-core door where a toothpick wasn’t enough. I had to trim it down with a utility knife, but that door hasn’t sagged in five years.
The Running Toilet (It’s Usually the Chain)
A running toilet is basically the sound of money going down the drain. It can waste hundreds of gallons of water a month.
The Common Mistake: People assume the whole flush mechanism is broken, so they go out and buy a $25 repair kit, dreading the installation. Or worse, they just get in the habit of “jiggling the handle” to make it stop.
The Real Fix: Lift the tank lid. Look at the rubber flapper at the bottom. Is it sealing shut? Usually, the culprit is the little chain connecting the handle to the flapper.
If the chain is too tight, the flapper never fully closes. If it’s too loose, the chain can get caught under the flapper, preventing a seal.
Action Plan:
Check the slack: You want about half an inch of slack in the chain when the handle is at rest.
Adjust the clip: Move the clip up or down a few links.
The “Food Coloring” Test: Not sure if it’s leaking? Put five drops of red food coloring in the tank (not the bowl). Wait 15 minutes. If the water in the bowl turns pink, your flapper is leaking and needs a $5 replacement.
Surprising Insight: Avoid using “drop-in” blue cleaning tablets in your tank. Over time, the chemicals in those tablets can warp the rubber of the flapper, actually causing the leak you are trying to avoid.
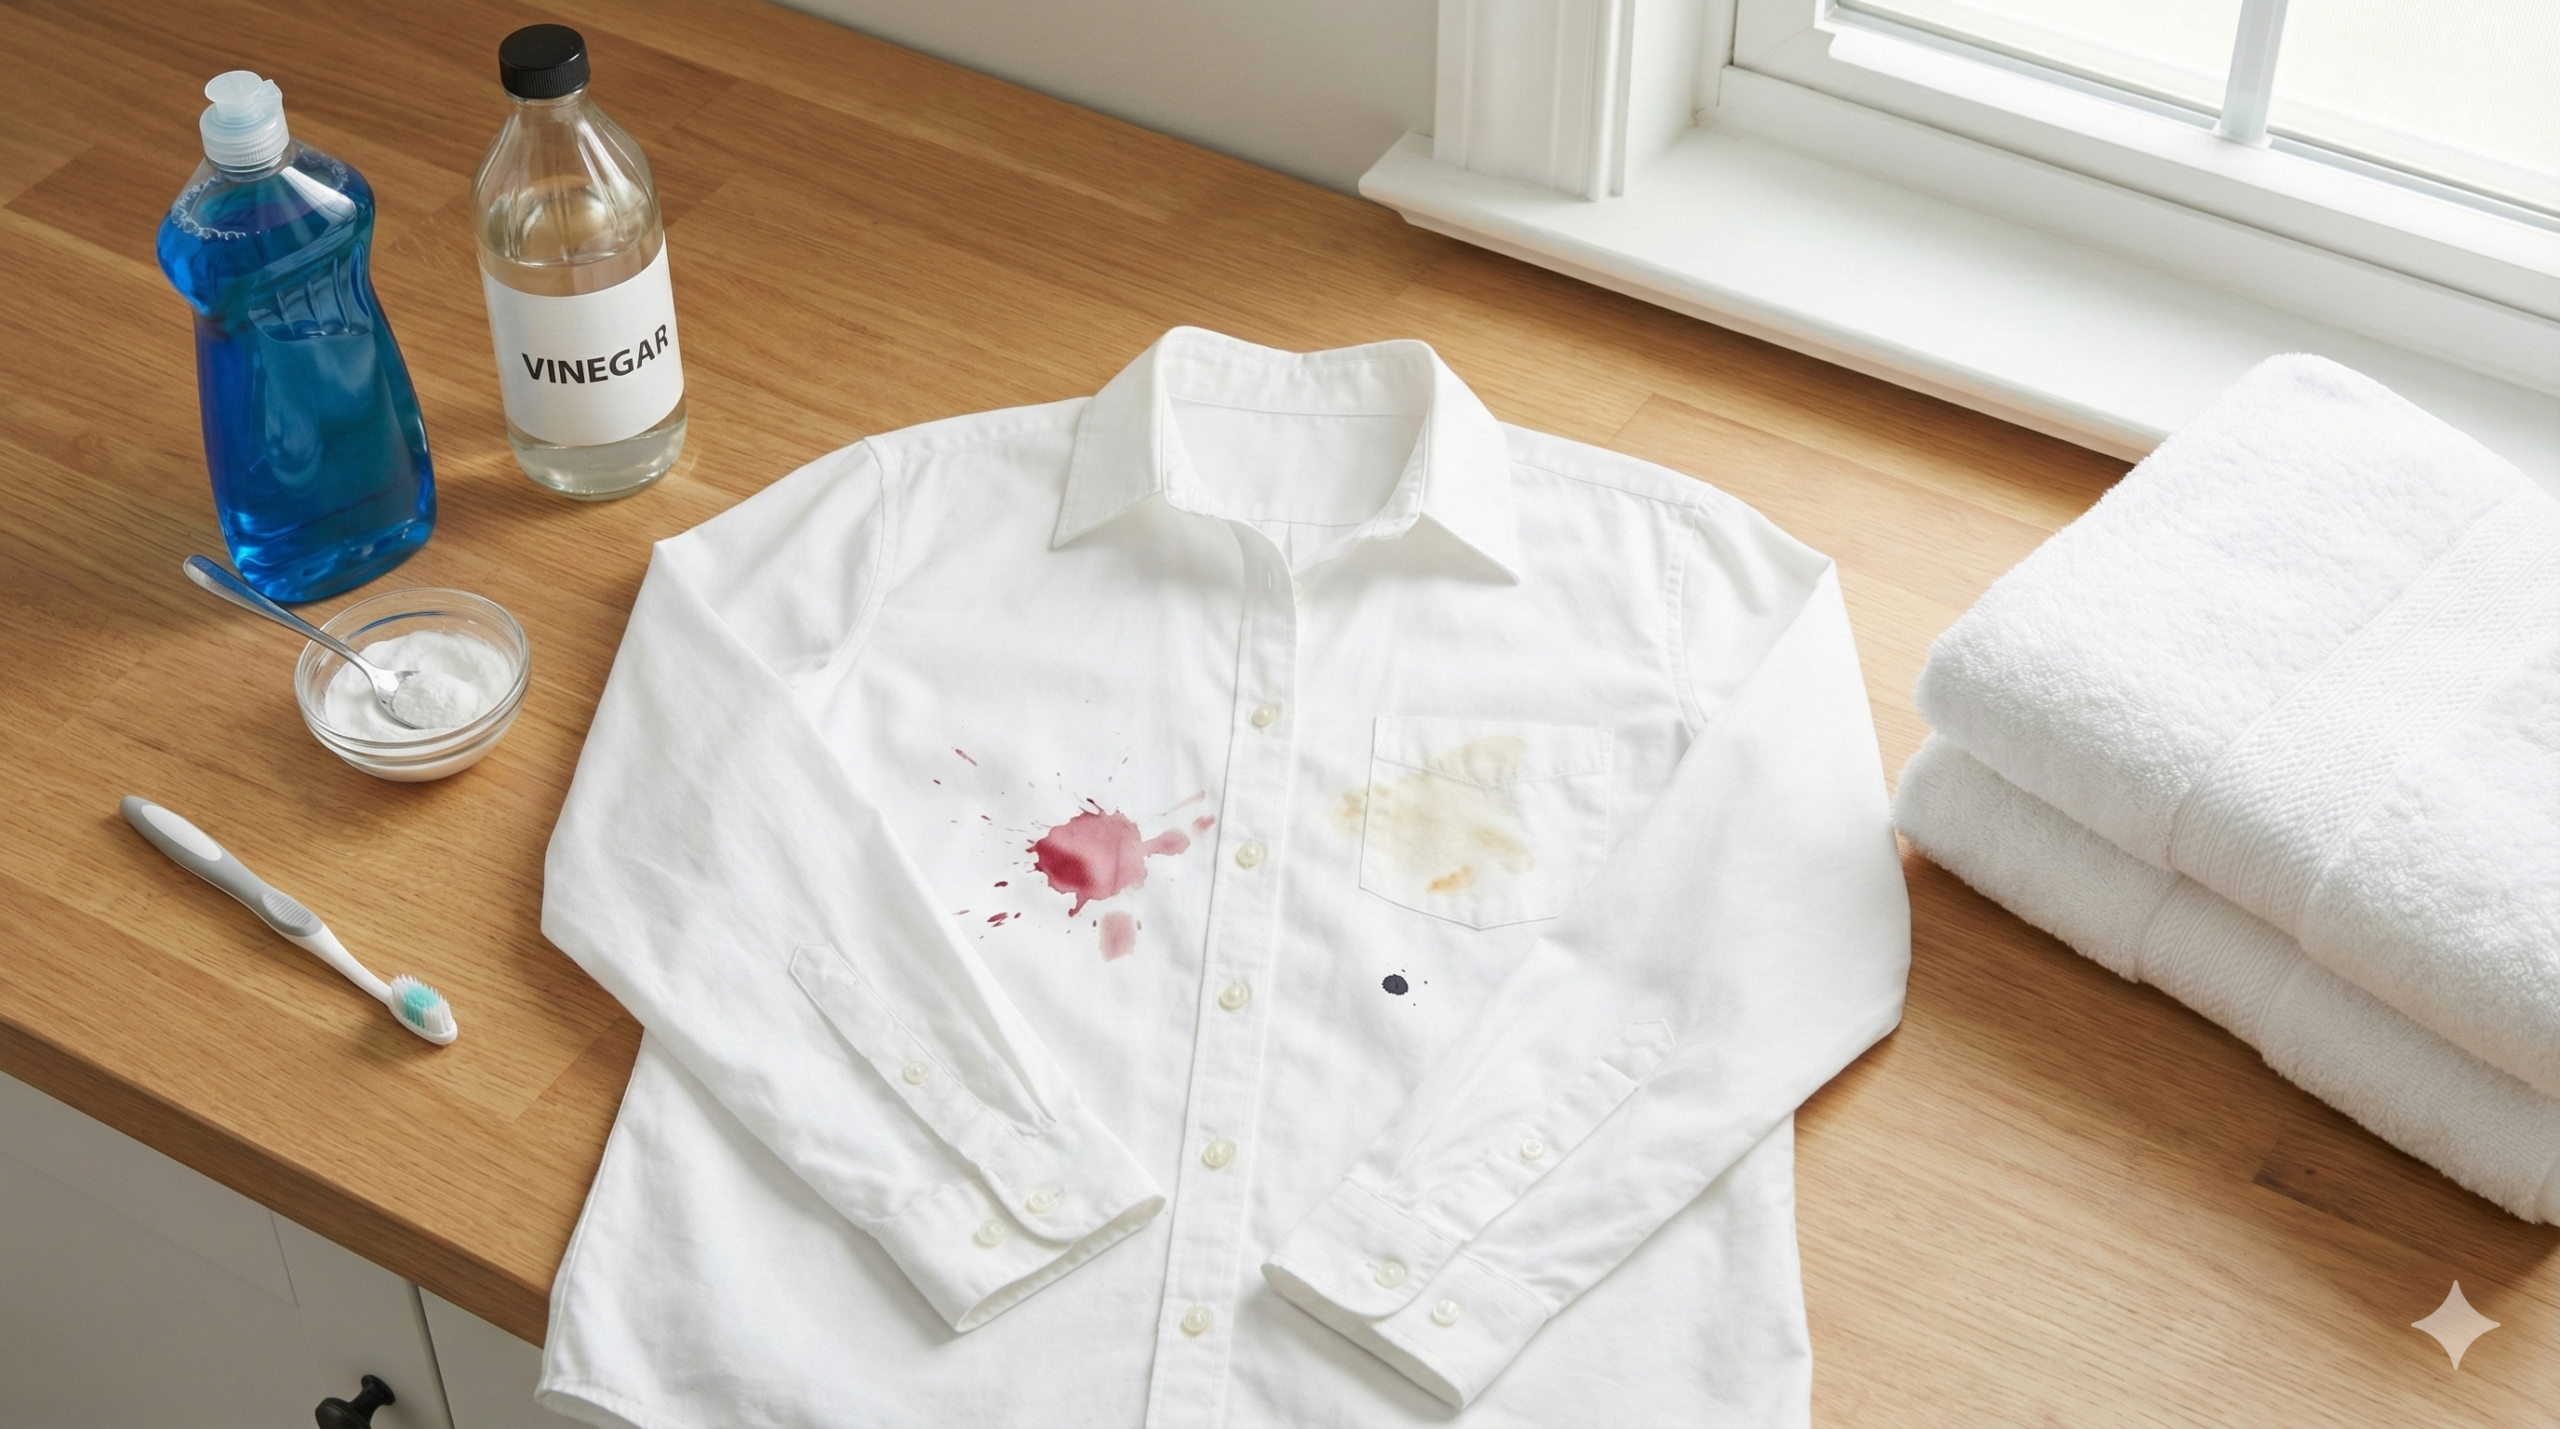
Erasing Wall Scuffs Without Painting
You move a piece of furniture and—scrape—there’s a long black mark on your white wall.
The knee-jerk reaction is to grab a paintbrush. But painting is a hassle. You have to stir the can, find the right brush, and hope the paint color matches (spoiler: paint fades, so the touch-up often looks brighter than the rest of the wall, leaving you with a weird shiny spot).
Try this first: For surface-level scuffs (where the drywall isn’t gouged), you likely don’t need paint.
The Tennis Ball Trick: For scuffs on vinyl flooring or semi-gloss paint, take a clean tennis ball, cut an ‘X’ in it, stick it on the end of a broom handle, and rub the scuff. The texture of the felt erases the mark surprisingly well.
Baking Soda Paste: For matte walls, mix a tablespoon of baking soda with a few drops of water. Rub gently with a soft cloth. It’s abrasive enough to lift the mark but gentle enough not to strip the finish.
A Mistake to Avoid: Don’t scrub aggressively with a standard kitchen sponge (the green side). That is essentially sandpaper. You will remove the scuff, but you’ll also remove the paint finish, leaving a dull spot that catches the light differently than the rest of the wall.
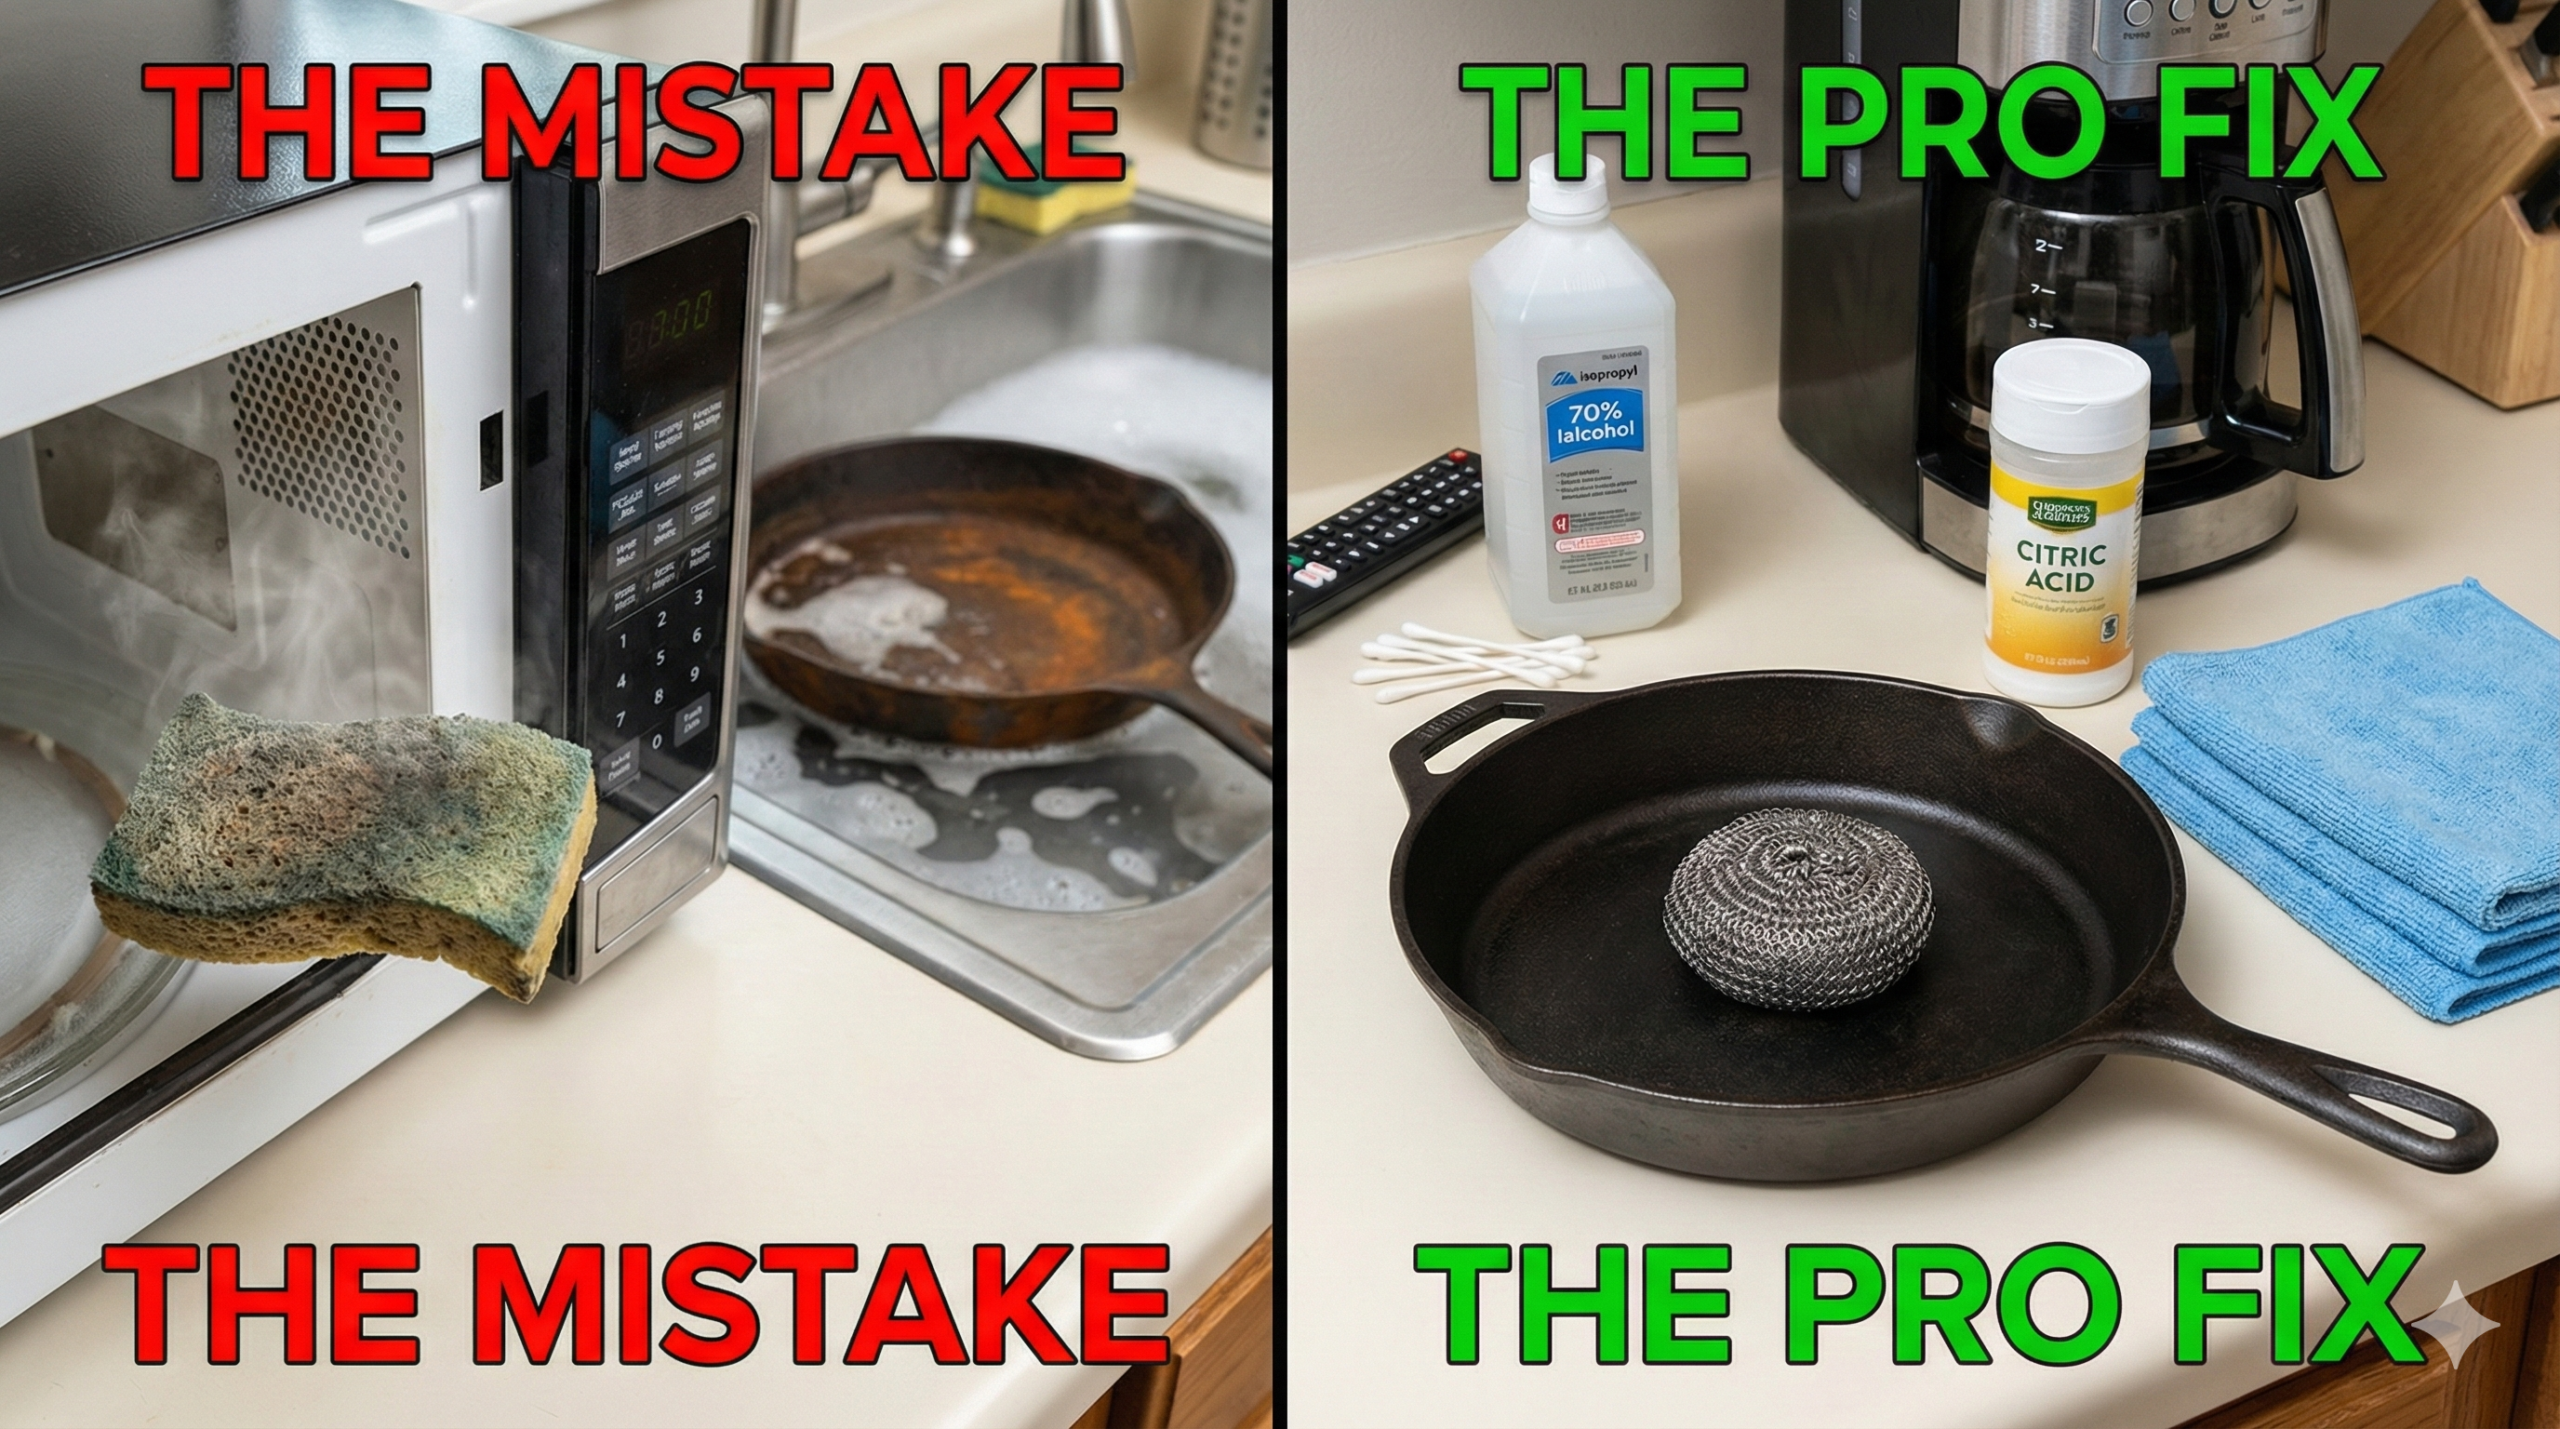
Unclogging a Drain Without Chemicals
I hate chemical drain cleaners. They smell terrible, they are bad for old pipes, and frankly, they don’t always work on hair clogs.
If your bathroom sink is draining slowly, don’t pour money down it yet.
The Tool You Didn’t Know You Needed: Go to the hardware store and buy a “Zip-It” tool (or a generic plastic drain snake). It costs about $3. It looks like a long plastic zip tie with barbs on the sides.
The Process:
Push the plastic stick down the drain.
Twist it slightly.
Pull it up.
Warning: What comes up will be the most disgusting thing you have ever seen. It will be a gray, slimy creature made of hair and soap scum. It is gross, but the satisfaction of watching the water swirl down the drain instantly afterward is unmatched.
Pro Tip: If you don’t have the tool and need a fix now, try the volcano method.
Pour 1/2 cup baking soda down the drain.
Pour 1/2 cup white vinegar.
Cover the drain with a wet cloth for 10 minutes (contain the fizz).
Flush with a kettle of boiling water. This works great for grease and soap buildup, though it won’t dissolve a massive hairball.
Fixing Squeaky Hinges (Stop Using WD-40)
Here is a hill I am willing to die on: WD-40 is not a lubricant. It is a solvent. It stands for “Water Displacement, 40th formula.”
When you spray WD-40 on a squeaky door hinge, it stops the squeak for about three days. But because it’s a solvent, it eventually dries out and strips away any existing grease, making the squeak return louder than before.
The Better Way: You want something that stays put. Lithium grease or even petroleum jelly (Vaseline) works significantly better.
The 3-Step Fix:
Close the door.
Use a nail and a hammer to tap the hinge pin up and halfway out. (You don’t need to take the door off).
Smear a little petroleum jelly or grease onto the pin.
Tap the pin back down.
Open and close the door a few times to work the grease into the joint.
This fix usually lasts for years, not days. Plus, you don’t get that oily spray dripping down your white door frame.
Reviving a Low-Pressure Showerhead
If your morning shower feels less like a refreshing waterfall and more like a weak drizzle, your pipes probably aren’t broken. Your showerhead is just choking.
Over time, mineral deposits (calcium and lime) from hard water build up inside the tiny nozzles. You can see this if you look closely—white crusty stuff blocking the holes.
The “Bag and Band” Method: Do not scrub it with a brush; you’ll just push the debris further in.
Fill a sturdy plastic sandwich bag halfway with white distilled vinegar.
Lift the bag up over the showerhead so the fixture is fully submerged in the liquid.
Secure the bag with a heavy rubber band or a zip tie.
Walk away.
Let it soak for an hour (or overnight if it’s really bad). When you remove the bag, run the hot water. The vinegar dissolves the minerals, and the pressure should return to normal.
Checklist for success:
Use white vinegar (5%), not apple cider vinegar.
If your showerhead is brass or nickel, don’t soak it for more than 30 minutes, as acid can sometimes tarnish specialty finishes.
Run the water for a minute before getting in, unless you want to smell like a salad.
Why Bother?
There is a psychological benefit to these small repairs. When your house works, you feel calmer. When you fix something with your own hands—using a 10-cent toothpick or a cup of vinegar—you stop feeling like a guest in your own home and start feeling like the owner.
Start with the toilet chain. It’s the easiest win. Once you realize you didn’t flood the bathroom, the rest of this list will look a lot less intimidating.
Editor — The editorial team at Tips Clear. We research, test, and fact-check each guide and update it when new info appears. This content is educational and not personalized advice; always turn off water/power before attempting major repairs.
Author
Discover more from Tips Clear - Content For Daily Life
Subscribe to get the latest posts sent to your email.